
How to Prepare Your Listing for a Photography Session
What happens before the camera arrives is just as important as what happens after.
There is a moment, just before a shoot begins, when everything is in place — the light is falling perfectly across the countertops, the throw pillows are arranged just so, and the space feels exactly as it was meant to feel. That moment doesn’t happen by accident. It happens because someone cared enough to prepare.
As a real estate professional, the way a home photographs directly reflects the standard of your service. Buyers are forming opinions from the first image they see — and those opinions are shaped long before they ever step through the door. A thoughtfully prepared home doesn’t just photograph beautifully. It signals to buyers that this listing, and the agent behind it, are worth their attention.
The good news is that most of the work can be done well in advance — which means no rushing the morning of your shoot.
Start Inside — You Have More Time Than You Think
Much of what makes a home photograph beautifully can be addressed days or even weeks before your session. Starting early takes the pressure off and allows for a more thoughtful, unhurried approach.
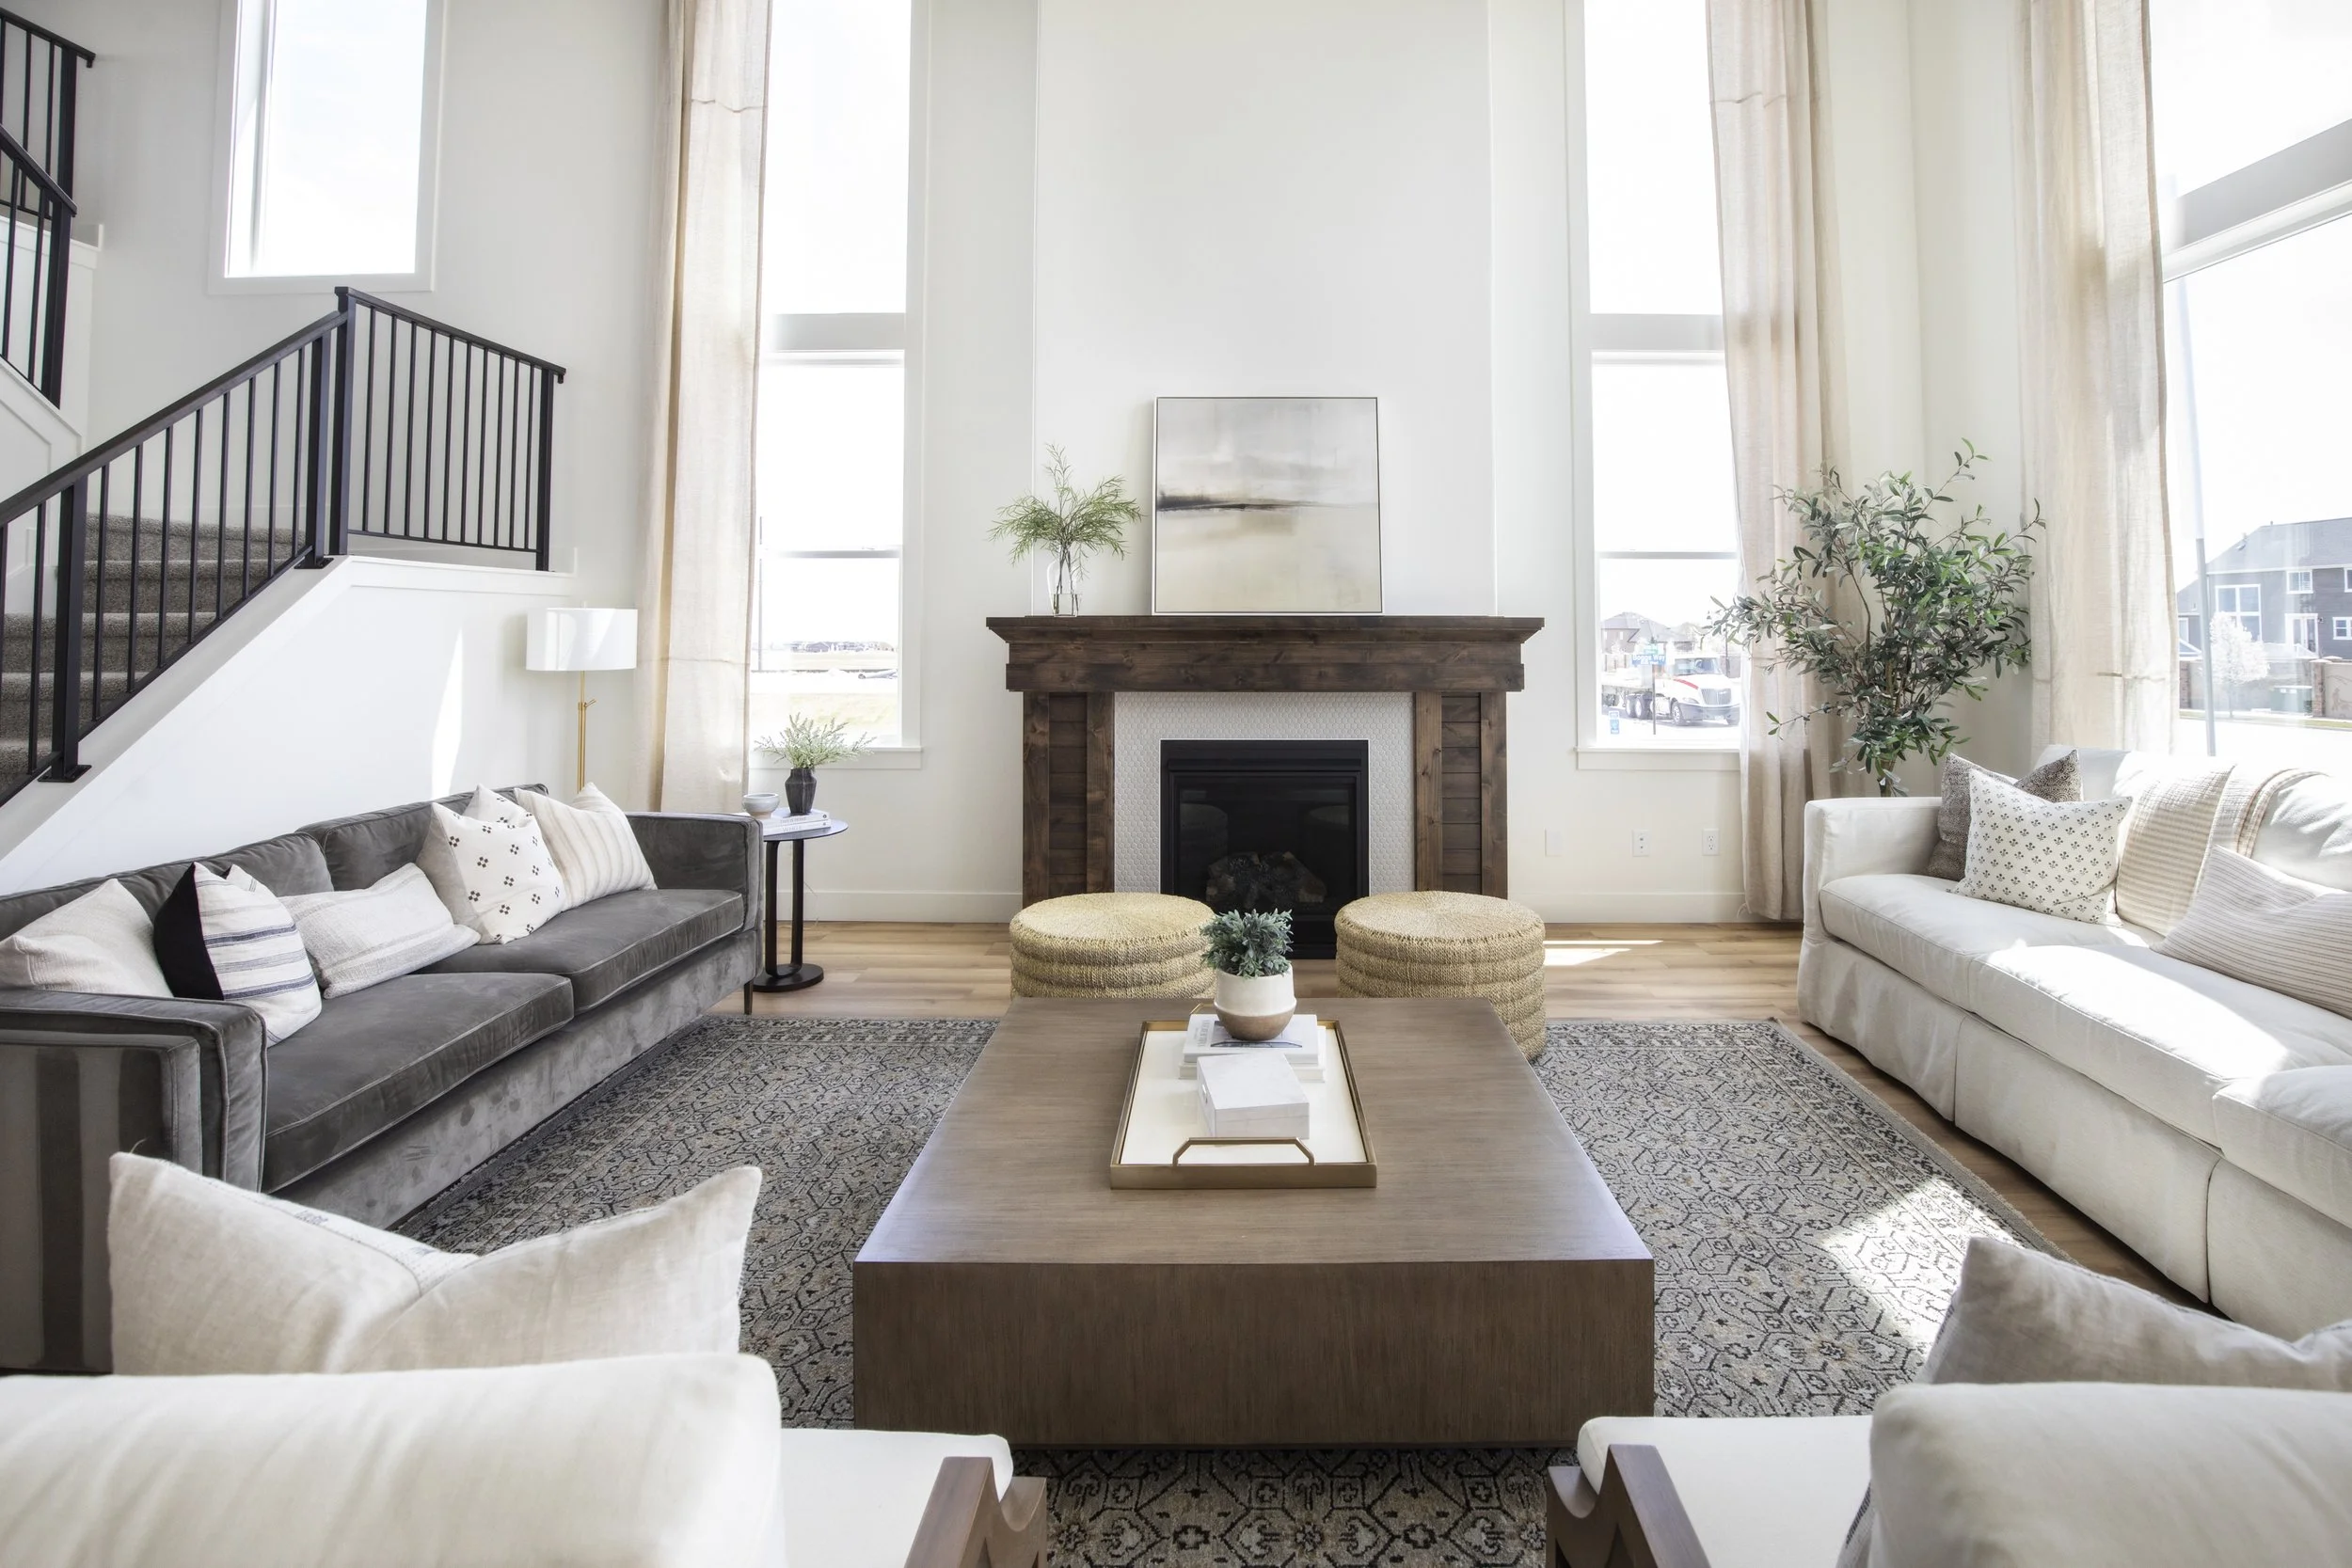
Declutter Every Room
Walk through each room with a critical eye and remove anything that doesn’t need to be there — excess furniture, personal photographs, children’s toys, pet items, and anything sitting on countertops that isn’t purely decorative. The goal is for buyers to see the space, not the stuff inside it. For items that remain on countertops, a good rule of thumb is to keep things in curated groups of two or three. Any more than that and a surface starts to feel busy rather than styled.
Clean With the Camera in Mind
Photography has a way of revealing what the eye overlooks. Mirrors, windows, and glass surfaces should be streak-free. Appliances should be wiped down. Floors should be clean and clear. Pay particular attention to bathrooms and kitchens, where surfaces tend to catch the most light — and the most scrutiny.
Style With Intention
A few well-placed details can elevate a space from clean to compelling. Fresh towels in the bathrooms, a simple centerpiece on the dining table, a bowl of fruit in the kitchen — small touches that suggest a life well lived without feeling overdone. If the home is vacant, even minimal styling goes a long way.
A Note on Personal Safety
Preparing a listing for photography is also an opportunity to think about what shouldn’t be visible to strangers. Before your session — and before any showings — walk through the home with safety in mind. Photos of children, anything bearing a school name or logo, medications, jewelry, uniforms, and firearms or related accessories should all be stored out of sight. It’s a topic that deserves more than a checklist item, and we cover it in depth in [a dedicated Journal post on listing safety].
Set the Light
Open every blind and curtain to let in as much natural light as possible and replace any burnt-out bulbs beforehand — mismatched or missing bulbs are one of the most common and easily avoidable photography day surprises. Whether interior lights should be on or off during a shoot is actually a topic worth its own conversation, and one we explore in depth in [Lights On or Lights Off: The Real Estate Photography Debate]. For now, having everything functional and consistent is what matters most.
Save the Exterior for Last
Unlike the interior, exterior preparation is best done as close to your shoot date as possible — freshly mowed grass and tidy garden beds make a far better impression than ones that had a week to grow back in. In the day or two before your session, ensure the lawn is mowed, garden beds are tidy, and any vehicles are moved from the driveway and the street in front of the home. Remove trash bins, hoses, and anything that doesn’t contribute to the overall presentation. If there are seasonal flowers or potted plants, make sure they’re at their best.
Do a Final Walkthrough
Just before your photographer arrives, do one last pass through every room. Check that toilet lids are down, cords are tucked away, and nothing has been overlooked. Small details matter more on camera than they do in person.
Preparation is one of the most powerful tools in your listing arsenal — and it costs nothing but a little time and attention. The homes that photograph best are rarely the most expensive or the most elaborately designed. They’re the ones where someone took the time to care.
Ready to book your next listing session? Explore our collections for real estate professionals and find the package that’s right for your property.
Pre-Session Checklist. Print this out and keep it in your listing kit.
Interior — Start Early
∙ Declutter all rooms — remove excess furniture, personal items, and anything that doesn’t belong
∙ Clear countertops, keeping any remaining items in curated groups of two or three
∙ Clean all mirrors, windows, and glass surfaces until streak-free
∙ Wipe down all appliances
∙ Clean floors throughout
∙ Style key spaces with simple, intentional details
∙ Store personal safety items out of sight — children’s photos, school items, medications, jewelry, uniforms, firearms and accessories
∙ Replace any burnt-out bulbs
Day of Shoot
∙ Open all blinds and curtains
∙ Turn on all interior lights and lamps
∙ Close all toilet lids
∙ Tuck away any visible cords
∙ Remove pet items, food bowls, and bedding
∙ Do a final room-by-room walkthrough
Exterior — Do This Last
∙ Mow lawn and tidy garden beds
∙ Remove vehicles from driveway and street
∙ Put away trash bins, hoses, and yard equipment
∙ Sweep walkways and entry
∙ Freshen up potted plants or seasonal flowers